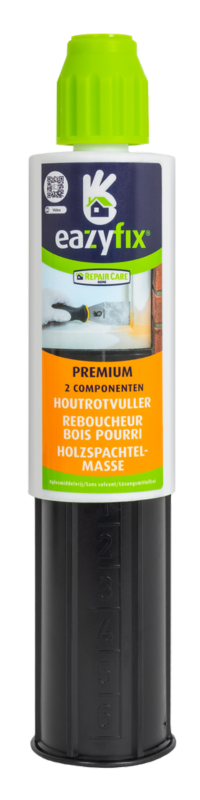
Cut the cap off the tube. Do not cut into the threads. Screw the spout onto the tube and, if necessary, cut it to size depending on the size of the hole to be filled.
Step 3: Fill the gap
Spray the Wall Filler directly into the damage with a Dosing Gun. Take the tension off the Dosing Gun as soon as the hole is filled.
Step 4: Smoothing
Lightly moisten the knife with a cloth and iron off the repair.
Stap 5: Sanding & Painting
The Wall Filler is repaintable after 2 hours. Do you want to sand the Wall Filler first? Then wait 24 hours.
What do you need?
Now available on amazon
Discover the EAZYFIX Premium Wood Filler on Amazon now! Repair wood rot easily and effectively. Click here to order.